

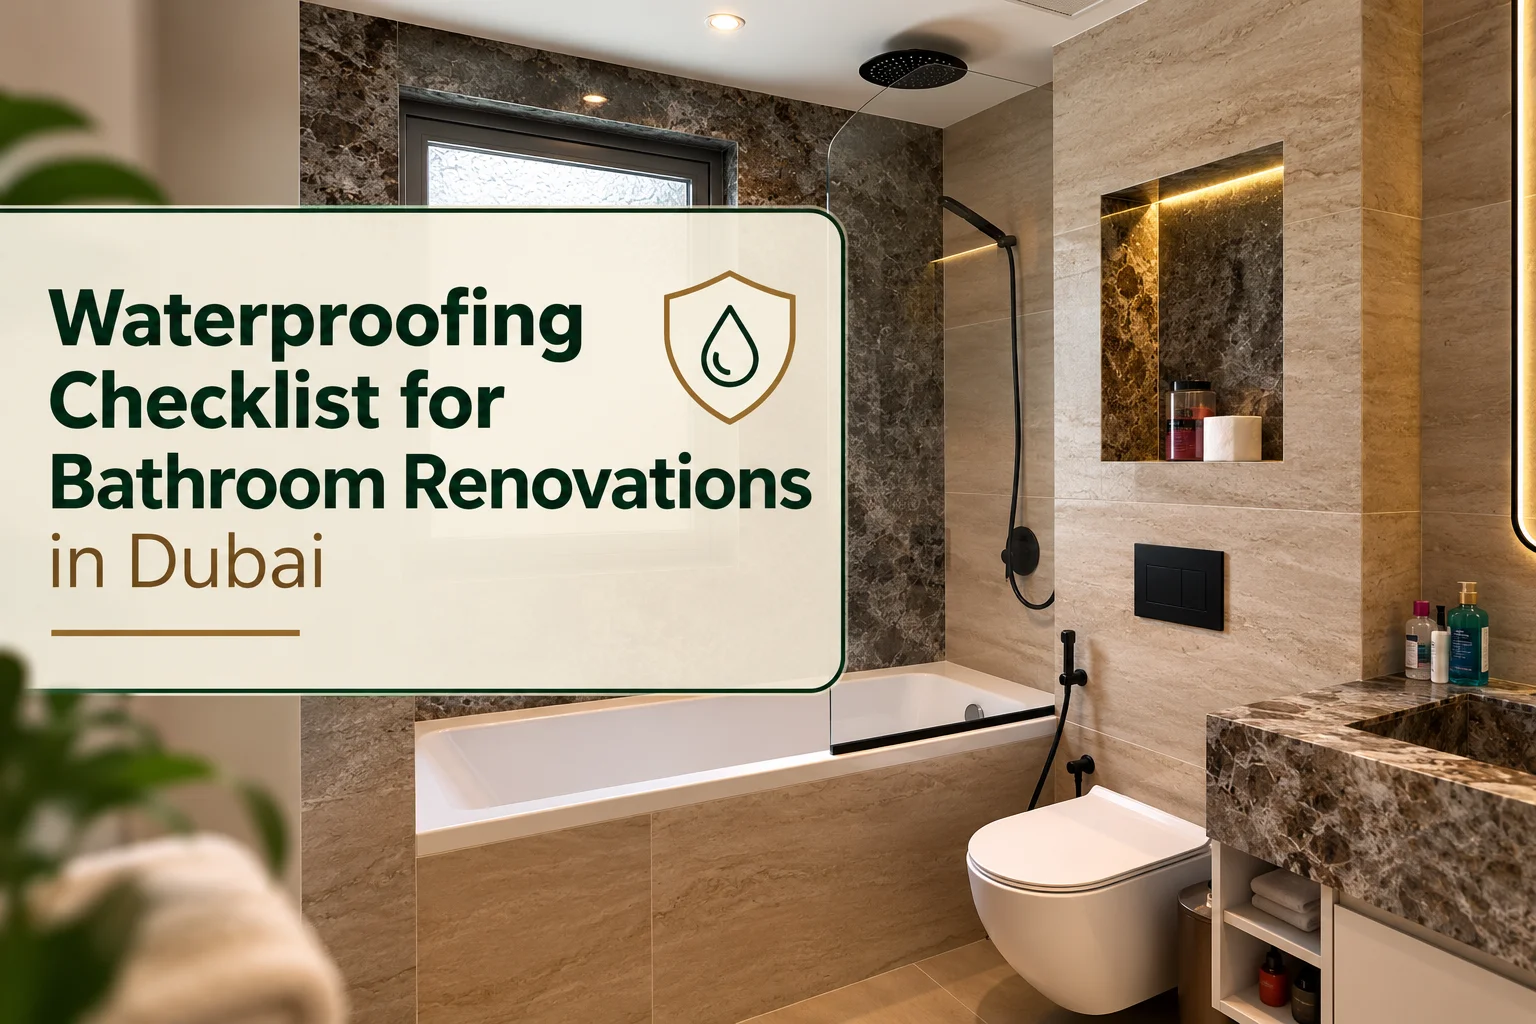
Bathroom Waterproofing Checklist for Dubai Renovations
A bathroom renovation is about more than pretty tiles, a modern vanity, or a rainfall shower. The most important part is something you will never see once the work is done: the waterproofing hidden underneath everything.
Good waterproofing quietly protects your floors, walls, and the rooms below from water damage. Get it wrong, and a tiny leak can slowly turn into damp walls, mould, a stained ceiling, loose tiles, and repair bills you never planned for. In a busy Dubai home where showers and wet areas are used every single day, this protection matters even more.
If you are planning a bathroom renovation in Dubai, run through this simple waterproofing checklist before a single tile goes down. It will help you ask the right questions and avoid the mistakes that cost homeowners the most.
Why Waterproofing Matters So Much
Bathrooms are exposed to water all day long. Showers, baths, sinks, floor washing, and general moisture all send water toward areas that are meant to stay dry.
Here is the part most people miss: tiles and grout alone do not waterproof a bathroom. They are just the visible finishing layer. The real protection is the waterproofing system sitting underneath, and that is what actually stops water from reaching the structure.
A properly waterproofed bathroom helps you:
- Reduce the risk of hidden water leaks
- Protect floors and walls from moisture
- Prevent damage to the rooms below
- Lower the chance of mould and damp smells
- Keep tiles and finishes looking good for longer
- Avoid expensive repairs down the line
So during any renovation, treat waterproofing as a core part of the project, not an optional extra you can trim from the budget.
Step 1: Inspect the Existing Bathroom First
Before any new waterproofing goes on, the current bathroom needs a proper check. Look out for:
- Old water stains
- Damp patches
- Cracked or loose tiles
- Damaged grout
- Mould or musty smells
- Signs of previous leakage
- Cracks in the walls or floor
If there is already a leak, covering it with new tiles will not fix anything. The cause has to be found first, otherwise the same problem returns weeks after your shiny new renovation is finished.
Step 2: Prepare the Surface Properly
Waterproofing needs a clean, sound surface to bond to. Before the membrane or coating goes on, the surface should be free of loose material, dust, oil, and any damaged finishes.
Any cracks, weak spots, or damaged sections should be repaired first. This step looks boring and easy to skip, but poor surface preparation can weaken the entire waterproofing system before it has even started to work.
Step 3: Waterproof the Full Floor, Not Just One Corner
The floor is one of the most important areas to protect. Water spreads right across it during showers and cleaning, so waterproofing should never be limited to a small patch around the shower.
The system should also connect properly to the floor drain and other critical points. The exact coverage should always follow the approved system, the project requirements, and the manufacturer’s instructions.
Step 4: Give the Shower Area Extra Attention
The shower is usually the wettest spot in the whole bathroom, so the shower floor and surrounding walls need careful, detailed waterproofing. Pay special attention to:
- Shower corners
- Wall-to-floor joints
- Shower niches
- Drains and pipe openings
- Areas around fittings
- Screens and thresholds
Dubai’s building code also asks for moisture-resistant, non-absorbent finishes in shower and sanitary areas, with set height requirements around showers. Whether you go for a walk-in shower or a bathtub, the waterproofing around that zone has to be spot on.
Step 5: Seal Every Pipe and Drain
Those small gaps around pipes and drains are a favourite entry point for water. Every pipe passing through a waterproofed area should be properly detailed and sealed, and the same goes for floor drains and other penetrations.
A membrane should never just stop around a pipe and leave a gap. These points need compatible collars, tapes, sealants, or other approved detailing as part of the system.
Step 6: Check the Floor Slope
Water should flow toward the drain, not sit in the corners. Before the final floor finish goes in, check that the floor has the correct fall toward the drain.
Poor drainage leaves standing water around the shower and in corners, and over time that quietly damages grout, joints, and finishes. Remember: good waterproofing and good drainage work as a team.
Step 7: Let the Waterproofing Cure
One of the most common renovation mistakes is rushing this stage. Waterproofing products need the correct curing time before the next step begins, and that time depends on the product, site conditions, temperature, humidity, and the manufacturer’s instructions.
Do not let anyone install tiles just because the surface looks dry. Give the waterproofing enough time to cure fully before it gets covered.
Step 8: Carry Out a Water Test
A water or flood test is one of the smartest checks you can do, because it catches problems while they are still easy to fix. The exact method and duration should follow the project specification and the waterproofing manufacturer’s instructions.
Once tiles are down, tracking a hidden waterproofing fault becomes slow, messy, and expensive. A test before tiling saves you from all of that.
Step 9: Inspect Before Tiling Begins
Do not rush straight from waterproofing to tiling. Before the membrane disappears under the tiles, confirm the following:
- The full required area is covered
- Corners are properly treated
- Pipe openings are sealed
- The drain connection is properly detailed
- The membrane is not damaged anywhere
- The required curing time has passed
- The water test is complete
- Photos or inspection records are saved
Once the tiles are on, most of this work is gone from view for good, so this is your last easy chance to catch anything.
Step 10: Choose the Right Wet-Area Finishes
Waterproofing is only one half of a lasting bathroom. The visible finishes need to suit wet areas too. The Dubai Building Code calls for smooth, hard, non-absorbent, and non-slip floor finishes in wet areas, with moisture-proof fittings and fixed finishes.
When picking materials, weigh up water resistance, slip resistance, easy cleaning, durability, and grout maintenance. Quality flooring and tiling work, moisture-resistant custom vanities and cabinetry, and a well-planned bathroom interior design in Dubai all help your renovation stay beautiful and practical for years.
Common Waterproofing Mistakes to Avoid
Most bathroom water problems come from a handful of skipped or rushed steps:
- Skipping waterproofing and trusting tiles to do the job
- Waterproofing only the shower floor and ignoring walls and corners
- Leaving pipe openings poorly sealed
- Poor drainage that lets water pool on the floor
- Tiling too soon, before the waterproofing has cured
- Skipping the water test where one is required
- Choosing the cheapest waterproofing to save a little now, and paying far more in repairs later
Questions to Ask Your Renovation Contractor
Before your project starts, a few simple questions will tell you a lot about how seriously your contractor takes waterproofing:
- What waterproofing system will you use? (Ask for the actual product or specification, not just the words “bathroom waterproofing.”)
- Which areas will be waterproofed, floor and walls?
- How will the drains and pipes be sealed?
- How long will the waterproofing cure before tiling?
- Will it be tested before tiling, and how?
- Can I inspect the waterproofing before the tiles go on?
A professional team will explain all of this clearly and confidently. If your project needs sign-off, working with a contractor who handles renovation approvals in Dubai keeps everything compliant from the start.
Your Quick Waterproofing Checklist
Before your bathroom tiles are installed, make sure you can tick every box below:
| Checkpoint | Done? |
|---|---|
| Existing leaks and moisture problems checked | ☐ |
| Surface properly prepared | ☐ |
| Full required floor area waterproofed | ☐ |
| Shower walls and corners protected | ☐ |
| Wall-to-floor joints treated | ☐ |
| Pipes and drains sealed | ☐ |
| Floor slopes toward the drain | ☐ |
| Waterproofing allowed to cure | ☐ |
| Water test completed | ☐ |
| Waterproofing inspected before tiling | ☐ |
| Suitable wet-area finishes selected | ☐ |
Give Your Dubai Bathroom a Strong Foundation
A bathroom can look stunning on the surface, but its long-term performance depends entirely on what happens beneath the tiles. Proper waterproofing, correct drainage, suitable materials, and careful installation protect your bathroom from the moisture problems that catch so many homeowners off guard.
So make waterproofing one of the first things you discuss with your renovation team, not an afterthought once the tiles have been chosen. With the right planning and skilled workmanship, you get a bathroom that is stylish, durable, and built to handle everyday life in Dubai.
Frequently Asked Questions
Is waterproofing really necessary if I use good quality tiles?
Yes. Tiles and grout are only the finishing layer and are not a waterproofing system on their own. The membrane underneath is what actually stops water from reaching your floors, walls, and the rooms below.
Which parts of the bathroom need waterproofing?
The full floor, the shower area walls, corners, wall-to-floor joints, shower niches, and every pipe and drain penetration. The exact coverage should follow the approved system and manufacturer’s instructions.
How long should waterproofing cure before tiling?
It depends on the product, temperature, humidity, and site conditions, so always follow the manufacturer’s guidance. Never tile just because the surface looks dry, as rushing this stage is a common cause of leaks.
Do I need a water test before tiling in Dubai?
A water or flood test is strongly recommended because it finds problems while they are still easy and cheap to fix. The method and duration should match the project specification and manufacturer’s instructions.
What should I ask my contractor about waterproofing?
Ask which system they will use, which areas will be covered, how pipes and drains will be sealed, how long it will cure, whether it will be tested, and if you can inspect it before tiling. Clear answers are the sign of a professional team.
Planning a Bathroom Renovation in Dubai?
Let Home Master Dubai handle the waterproofing, tiling, and finishing, done right the first time.
Get a Free Consultation